

23 Creative Clay Ash Tray DIY Ideas for Beginners
Creative clay ash tray DIY ideas can be small but expressive handmade projects, giving you room to experiment with color, shape, texture, and decorative details. Whether you enjoy minimalist home accessories, playful sculptural designs, or earthy handmade pottery, there are plenty of ways to create a piece that reflects your personal style.
These 23 creative clay ash tray DIY ideas explore different looks using materials such as air-dry clay and pottery clay, depending on the finish and durability you want. You’ll find simple designs for beginners, more detailed decorative concepts, and practical tips for shaping and finishing your project.
A quick material note: Air-dry clay is suitable for decorative projects, but it generally isn’t designed to withstand repeated heat or burning embers. If you intend to use an ashtray functionally, choose an appropriate kiln-fired ceramic clay and glaze system, follow the manufacturer’s firing instructions, and make sure the finished piece is suitable for that use. Keep flammable materials away from hot ash, and never leave burning smoking materials unattended. This safety advice applies to every one of these creative clay ash tray DIY ideas.
1. Minimalist Round Clay Ash Tray
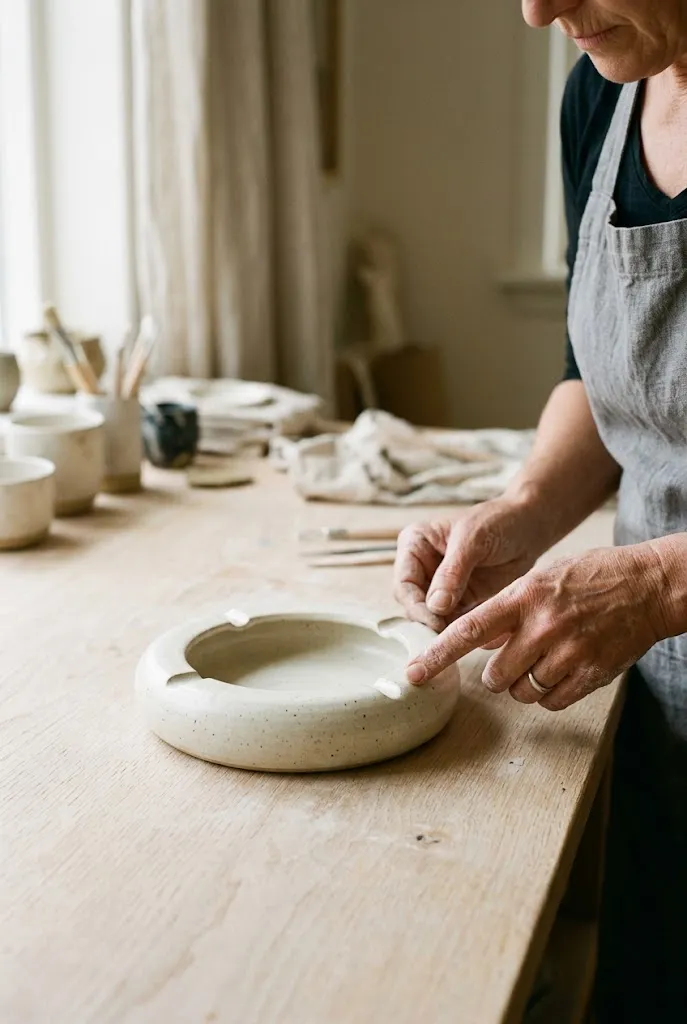
A simple round design is a great starting point for beginners because it focuses on proportion and a smooth finish rather than complicated decoration. Its clean silhouette works well with neutral interiors, natural wood, and understated handmade accessories. It is one of the easiest creative clay ash tray DIY ideas to start with.
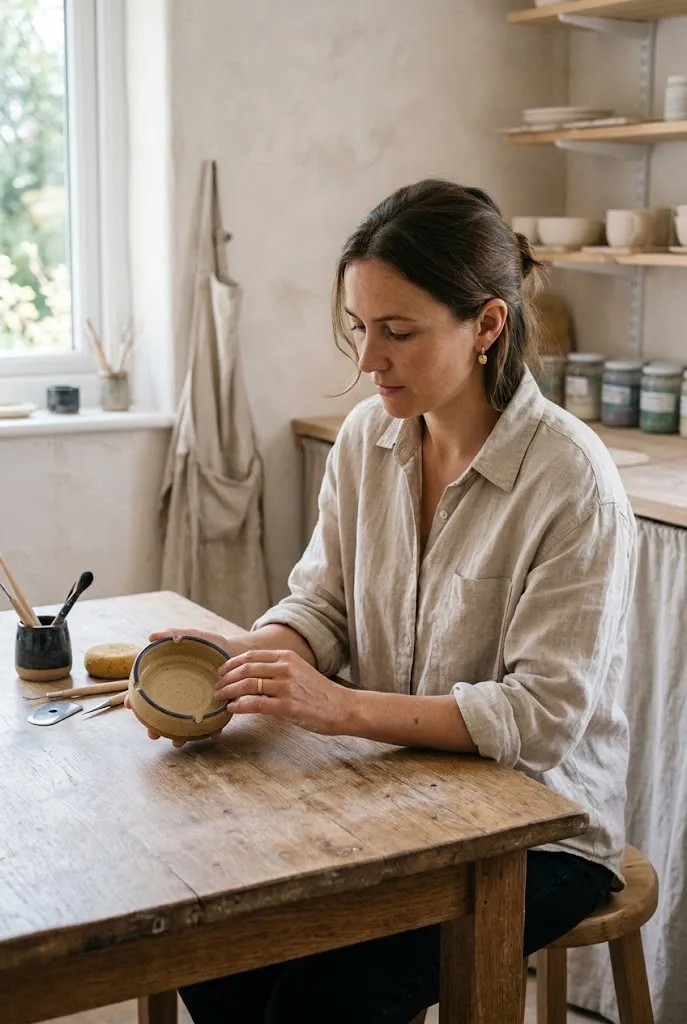
Roll or shape your clay into a rounded disc, then gently press the center to form a shallow bowl. Smooth the rim with damp fingers if your clay instructions allow it, keeping the thickness reasonably even. Four small, evenly spaced indentations can create rests around the edge if the piece is intended to be a functional ashtray.
Materials and styling ideas:
- Cream, warm white, sand, or soft gray clay.
- A rounded rim with a shallow center.
- A matte appearance for a quiet, contemporary look.
- A contrasting base color for a more graphic design.
2. Flower-Shaped Clay Ash Tray

A flower-shaped ashtray introduces a softer, more playful silhouette. Its petal-like edges can be rounded and subtle or exaggerated for a sculptural look. This design suits colorful craft collections, maximalist accessories, and cottage-inspired decor. Among creative clay ash tray DIY ideas, this one adds the most charm.

Start with a flattened clay disc, then pinch or press the outer edge into evenly spaced petals. Keep the central bowl broad enough to maintain the intended shape, and avoid making the petal tips too thin. You can leave the piece a natural clay color or add a compatible ceramic glaze after firing.
Tips & Tricks
- Sketch the petal outline on paper before shaping.
- Use a rounded tool to make each indentation consistent.
- Choose two complementary colors instead of adding many competing shades.
- Follow the clay manufacturer’s instructions for drying, firing, and finishing.
3. Wavy-Rim Creative Clay Ash Tray DIY Ideas

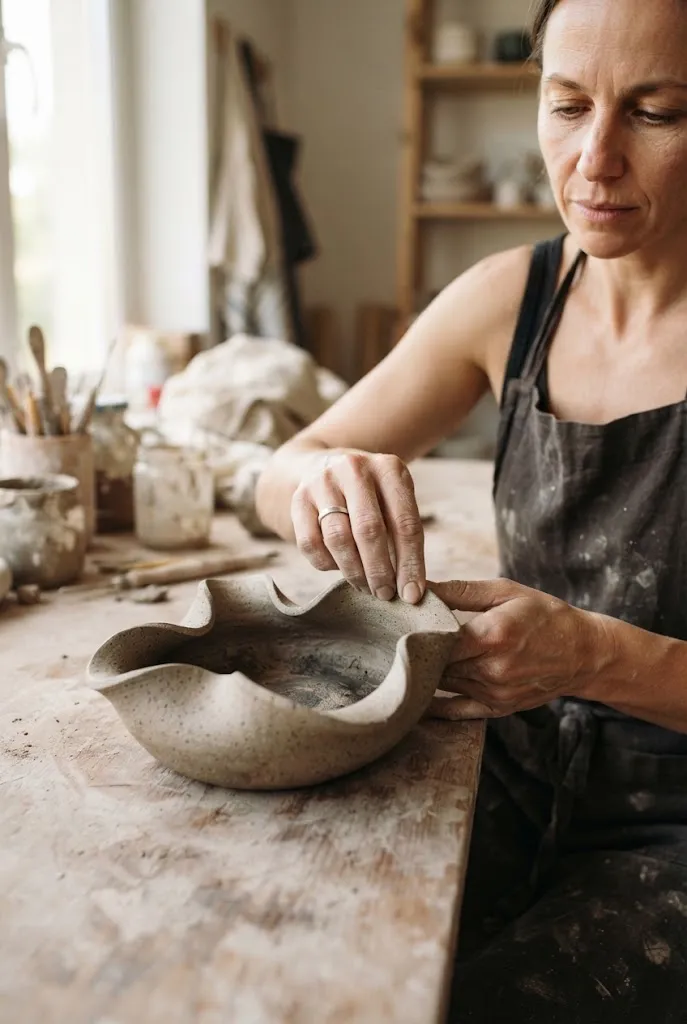
An undulating rim gives a basic dish more movement without requiring a complicated shape. Gentle waves feel organic and handmade, while more pronounced curves create a contemporary sculptural accent. It is a gentle way to practice curves in your creative clay ash tray DIY ideas.
Form a shallow dish first, then adjust the rim gradually with your fingertips. Alternate the high and low points rather than creating random bends, which can make the piece look unbalanced. A single-color finish lets the silhouette remain the focus.

Common Mistake: Making the waves too deep can produce a fragile rim or uneven walls.
Better Approach: Keep the curves broad and rounded, with enough material to preserve the shape throughout drying and firing.
4. Speckled Creative Clay Ash Tray DIY Ideas
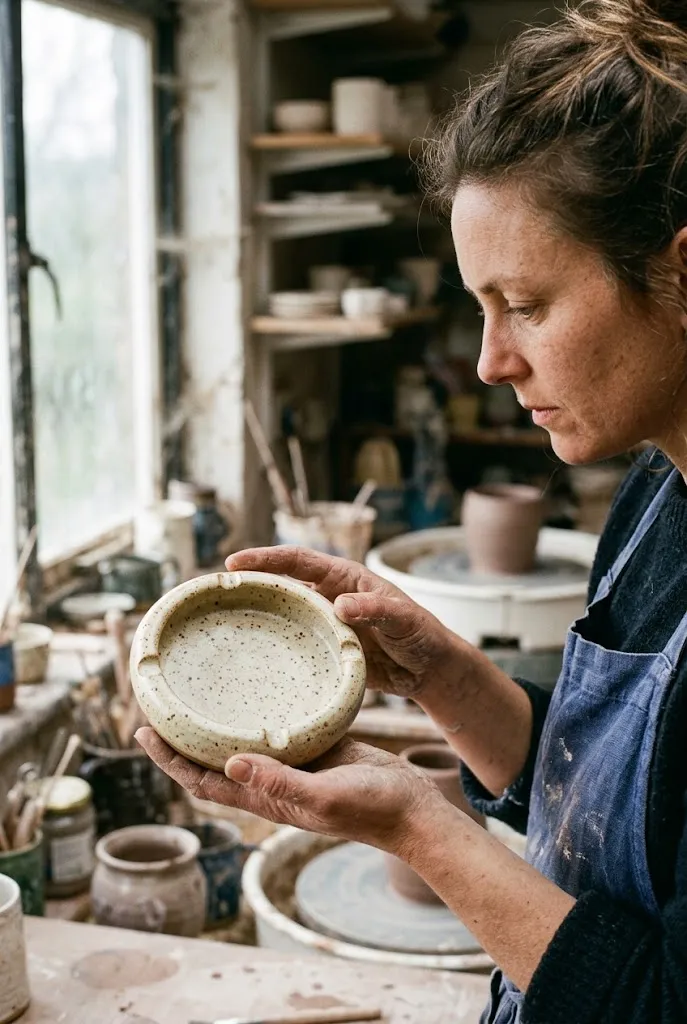
Speckled clay adds visual interest without requiring hand-painted decoration. Small mineral-like flecks create a natural, earthy appearance that pairs beautifully with oak, linen, stone, and muted green accessories. Speckles are an easy way to elevate creative clay ash tray DIY ideas without extra painting.

Clay Ash Tray Choose a clay body or commercially formulated glaze that produces the desired speckled effect. If you’re using air-dry clay, create a similar look with compatible decorative materials according to their instructions, keeping the finished piece decorative rather than exposing it to hot ash.
- Palette: Cream, oatmeal, warm gray, and brown.
- Shape: Round, oval, or softly squared.
- Styling: Pair with simple objects so the flecked surface remains visible.
5. Marble-Effect Creative Clay Ash Tray DIY Ideas
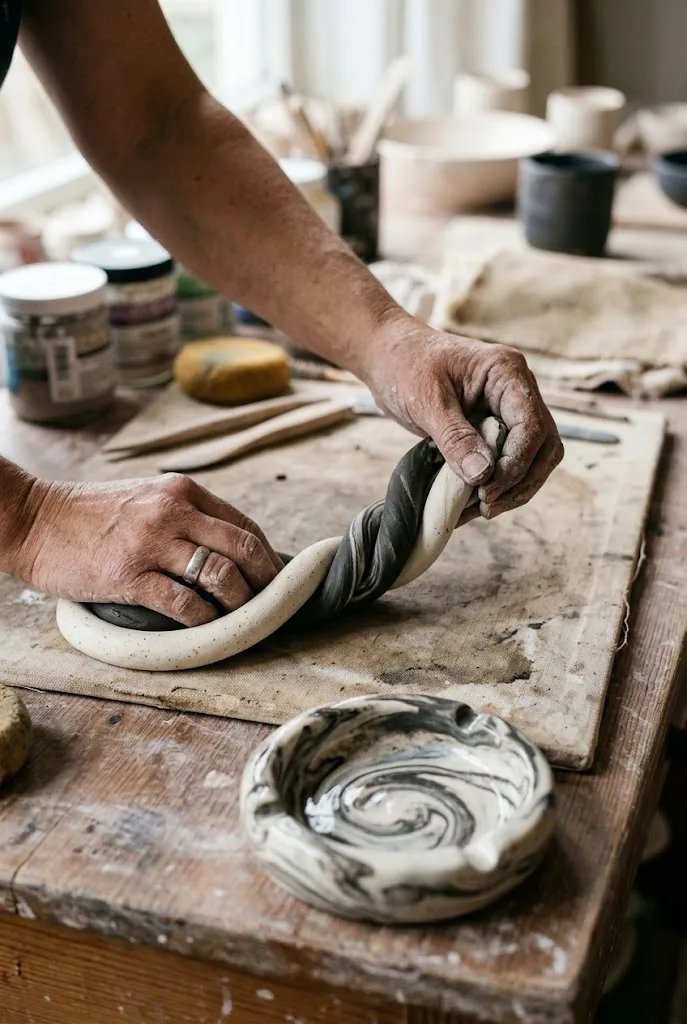
Marbling creates a one-of-a-kind pattern that looks intricate even when the shape is simple. Swirls of white, charcoal, taupe, or muted terracotta can give a handmade tray the appearance of natural stone. Marbling makes these creative clay ash tray DIY ideas feel truly one of a kind.
For a clay-marbling technique, blend two compatible clay colors only partially. Overmixing will muddy the pattern. If you’re working with air-dry clay, check that both colors are suitable for the same product and drying process.

A useful design choice: Keep the tray’s silhouette simple. The marbling already supplies plenty of visual movement.
6. Heart-Shaped Creative Clay Ash Tray DIY Ideas
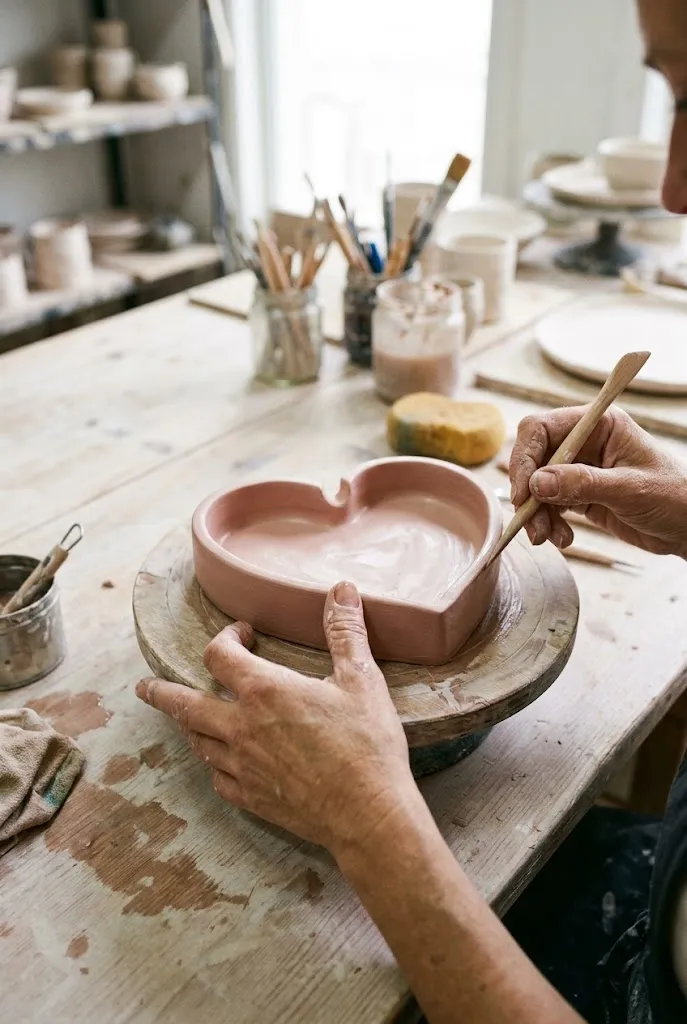
A heart-shaped tray brings a playful touch to a handmade accessory. It can be sweet and pastel, bold and glossy, or understated in a neutral clay finish. The recognizable outline makes this design a good option for gifts and themed craft collections. It is a lovely pick among creative clay ash tray DIY ideas for gifts.

Shape the outer heart before forming the shallow center. Keep the inward notch rounded rather than sharp, and give the pointed end enough thickness to reduce the risk of breakage. If you want to add a decorative border, use small dots or a simple contrasting line.
7. Checkerboard Clay Ash Tray
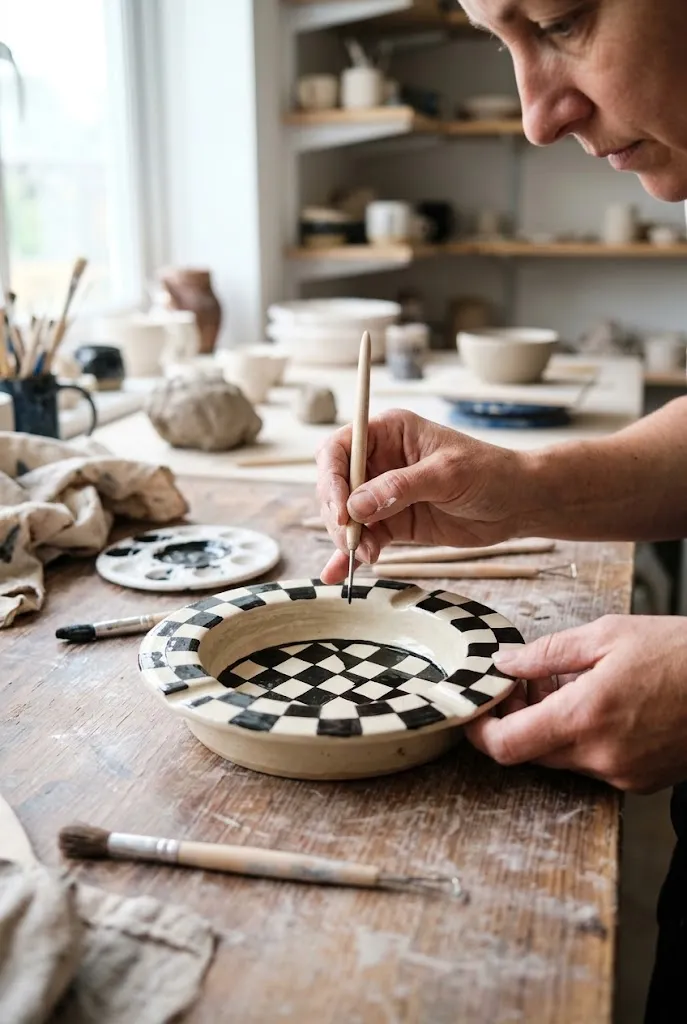
Checkerboard patterns add a graphic, retro-inspired look to a simple tray. Black and cream create strong contrast, while sage and ivory or terracotta and pale pink feel softer and more playful. Graphic patterns like this keep creative clay ash tray DIY ideas fresh and modern.

There are two main approaches: construct the pattern using compatible colored clay or paint a suitable decorative surface after the piece has dried or been fired, depending on the materials. Aim for consistent squares and a clean boundary around the rim.
Do / Don’t
- Do: Use a limited two-color palette.
- Do: Plan the grid before decorating.
- Don’t: Assume ordinary craft paint or sealant is suitable for a surface exposed to hot ash.
8. Terracotta-Inspired Clay Ash Tray

Warm terracotta shades give a clay ashtray an earthy, Mediterranean-inspired appearance. The color works especially well with natural wood, cream textiles, olive green, and other muted earth tones. Earthy colors make creative clay ash tray DIY ideas feel warm and welcoming.
You can use naturally colored clay, a suitable ceramic glaze, or a compatible decorative finish depending on your medium. A gently irregular edge can emphasize the handmade quality without making the tray look unfinished.
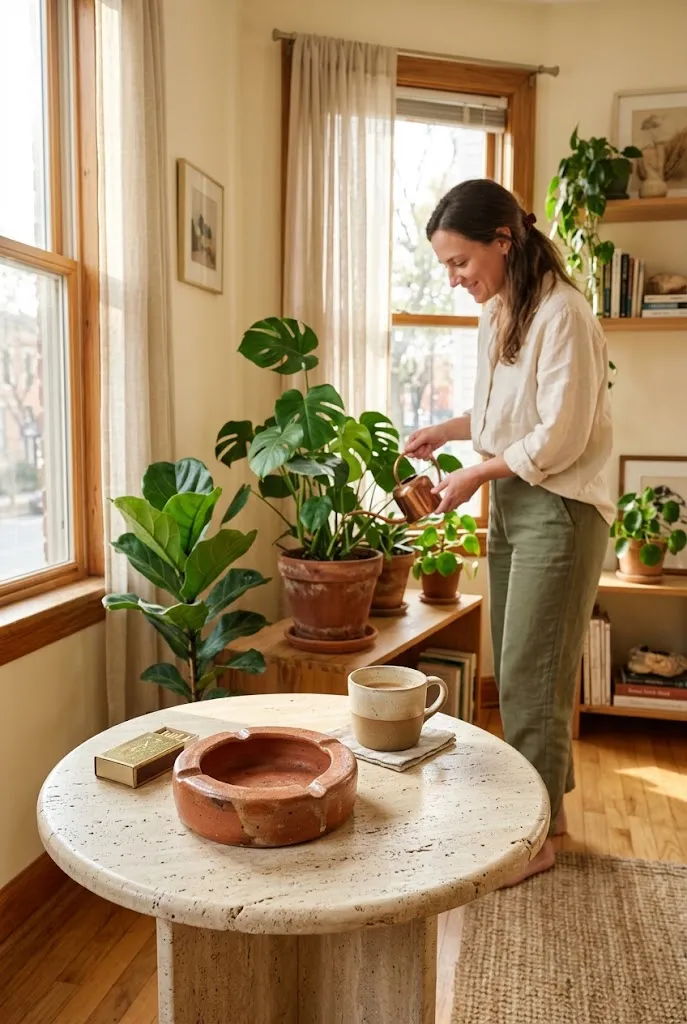
For an accessible decorative version, pair a terracotta-colored air-dry clay tray with a small handmade vase or wooden catchall. Keep it away from heat and open flames.
9. Two-Tone Creative Clay Ash Tray DIY Ideas

A two-tone design creates contrast without needing a complex pattern. Consider a cream interior with a chocolate-brown exterior, a pale-pink rim with a burgundy bowl, or a charcoal base with a warm white top. Color contrast is a simple way to personalize creative clay ash tray DIY ideas.

Decide where the color boundary should sit before applying the finish. A horizontal division around the outside emphasizes the tray’s shape, while a contrasting interior makes the bowl itself the focal point.
10. Sunburst Clay Ash Tray DIY Ideas

A sunburst design uses radiating lines to draw attention toward the center. The result can feel retro, graphic, or slightly sculptural, depending on the depth and spacing of the grooves. This retro touch gives creative clay ash tray DIY ideas a bold graphic edge.

Form a shallow circular dish, then mark evenly spaced lines outward from the center using a rounded modeling tool. Keep the grooves shallow enough to preserve the surface and avoid creating thin, fragile sections. A single ochre or cream finish helps the pattern stand out.
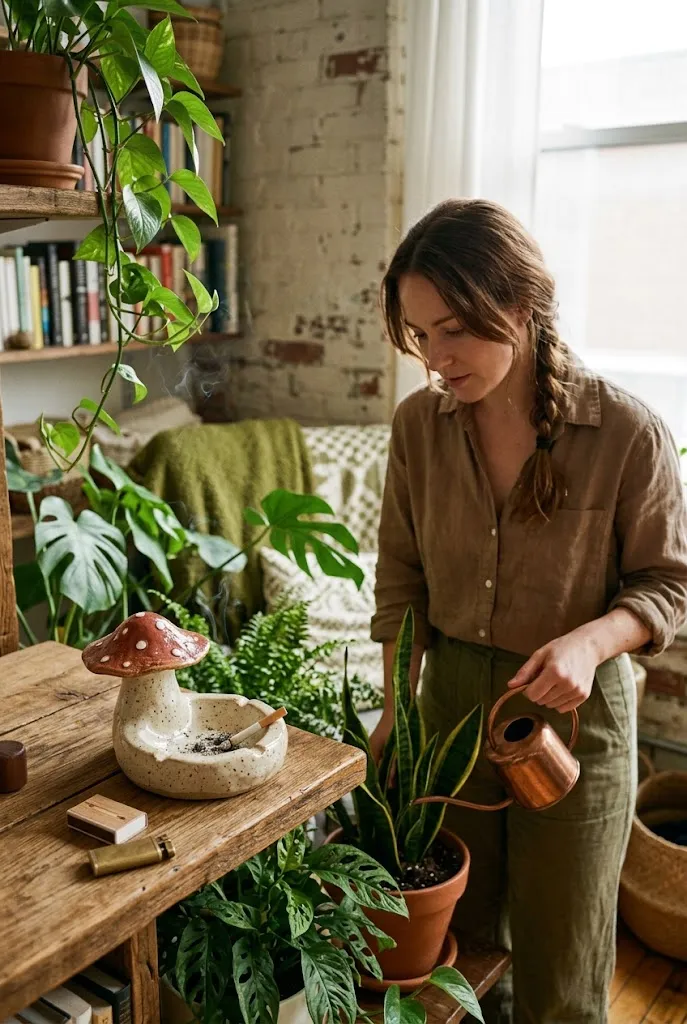
11. Mushroom-Shaped Clay Ash Tray

Nature-inspired shapes are a fun way to move beyond the traditional round dish. A mushroom-inspired tray might feature a rounded cap-like outline, earthy brown spots, or a creamy base with a terracotta accent.
Keep the design relatively flat if you want the object to remain easy to use and clean. Small sculpted mushrooms can decorate the rim, but raised pieces should not interfere with the bowl or create fragile projections.
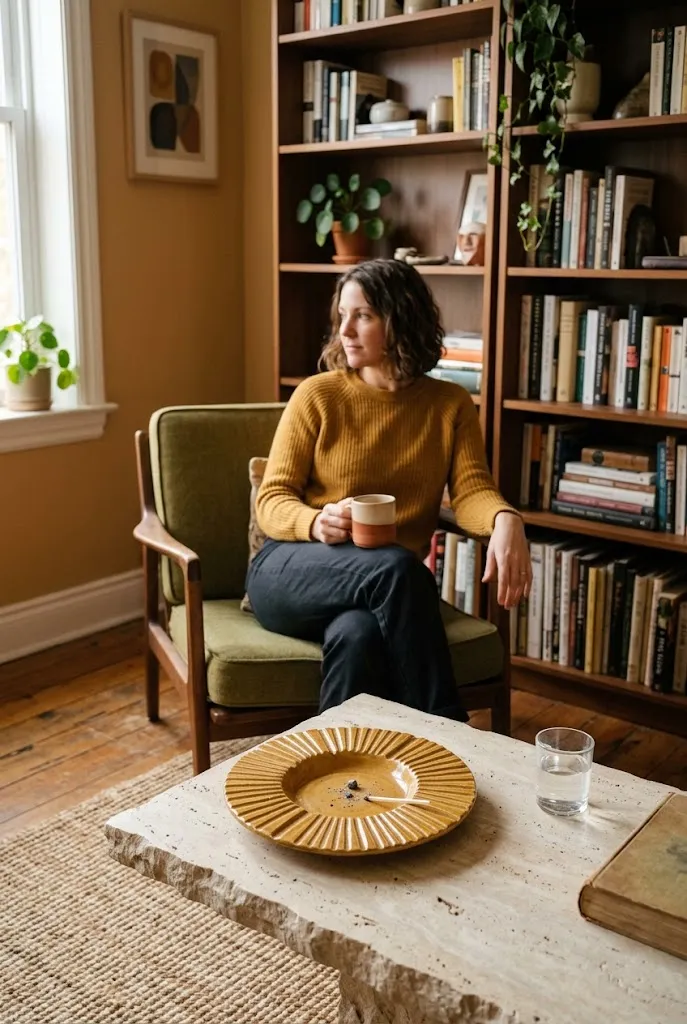
Quick Tip: Draw inspiration from mushroom colors and silhouettes rather than making the tray excessively detailed. A recognizable outline and two coordinated colors are often enough.
12. Pinch-Pot Clay Ash Tray
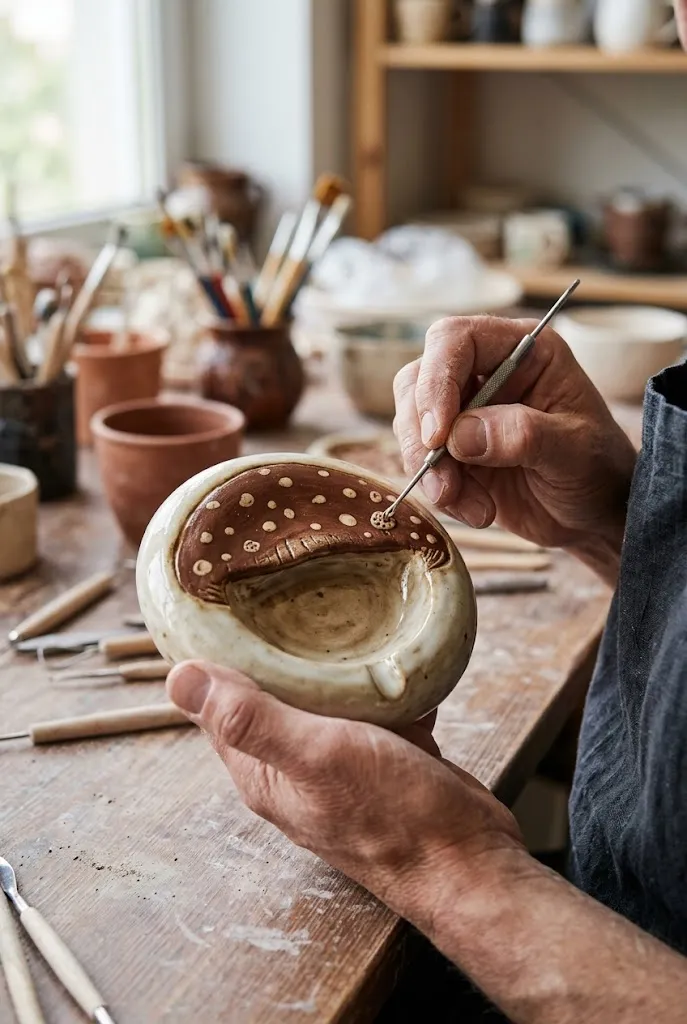
The pinch-pot method is an approachable way to make a small clay dish without a pottery wheel. It relies on gradually pressing and turning the clay to form a hollow center.
- Roll a ball of clay and press your thumb into its center.
- Rotate the clay while gently pinching the walls between your thumb and fingers.
- Smooth the rim and adjust the base so the dish sits evenly.
Follow the instructions for your particular clay, including any required drying or firing process. Uneven wall thickness can lead to cracking or an awkward shape, so work gradually instead of forcing the clay outward.
13. Geometric Square Clay Ash Tray
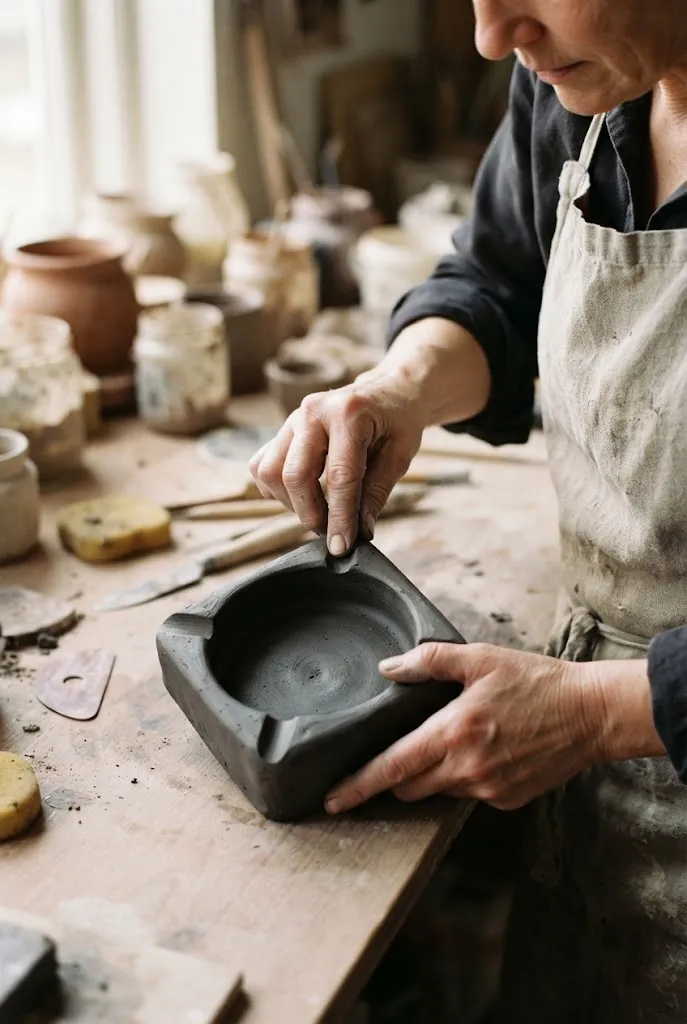
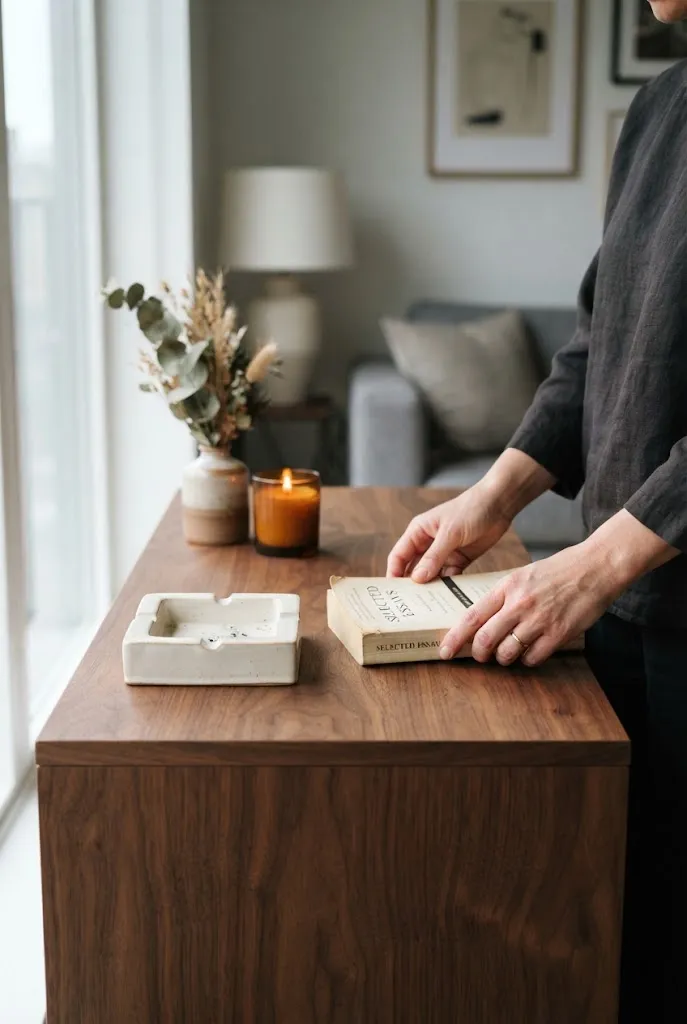
A square tray offers a more structured alternative to rounded designs. Its straight sides pair well with modern furniture, geometric accessories, and minimalist interiors.
Shape the base into an even square, then raise the edges while keeping the corners softly rounded. A matte charcoal finish gives the piece a contemporary appearance, while cream or pale gray emphasizes its clean outline.
Common Mistake: Sharp corners and thin walls may be harder to shape consistently.
Better Approach: Round the corners slightly and check that the base sits flat before the clay dries or goes through its prescribed firing process.
14. Ocean-Inspired Blue Clay Ash Tray

Blue clay accessories can evoke the movement and color of water. Deep navy feels dramatic, pale blue is airy, and turquoise introduces a brighter coastal accent.

You can use layered blue glazes designed for your ceramic clay body or create painted wave motifs for a decorative air-dry clay version. A curved line around the bowl or a subtle blue-to-white gradient can suggest waves without making the pattern overly busy.
15. Gold-Accented Clay Ash Tray
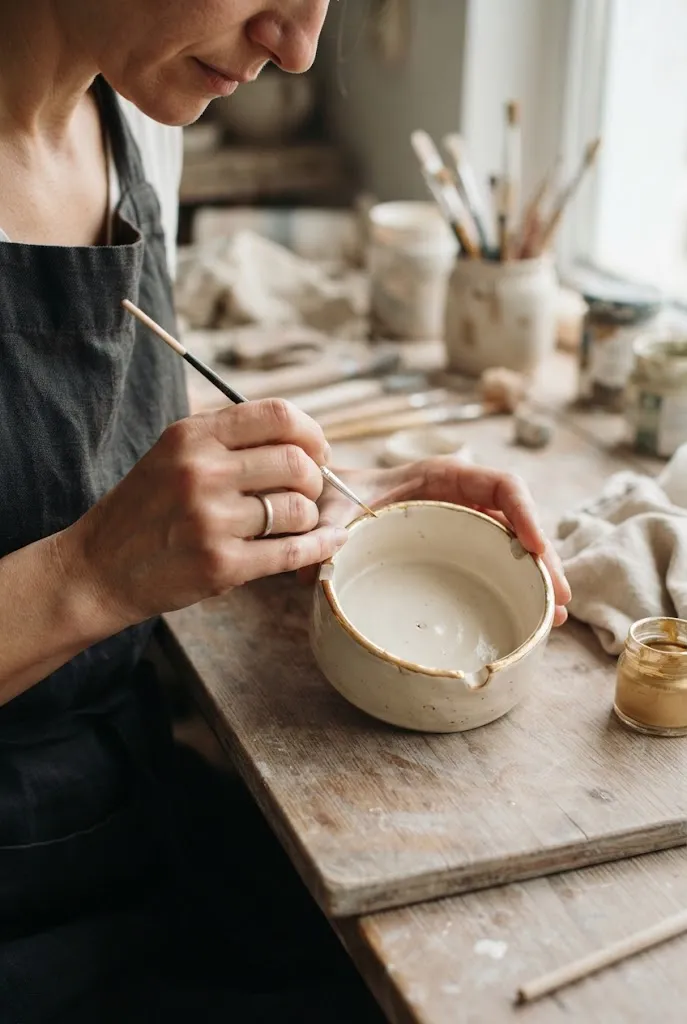
A restrained metallic accent can give a handmade tray a dressier appearance. A narrow gold-colored line around the rim or a few delicate geometric details can contrast beautifully with cream, black, or deep green.
For air-dry clay, choose a decorative metallic product compatible with the surface and intended use. For ceramic work, use a product specifically designed for the relevant firing process. Metallic finishes aren’t automatically suitable for surfaces exposed to heat, and some require special application or firing instructions.
Do / Don’t
- Do: Keep metallic decoration limited to a small area.
- Do: Check compatibility between the clay, finish, and intended use.
- Don’t: Assume decorative metallic paint is heat-safe or food-safe

16. Woven-Texture Creative Clay Ash Tray DIY Ideas

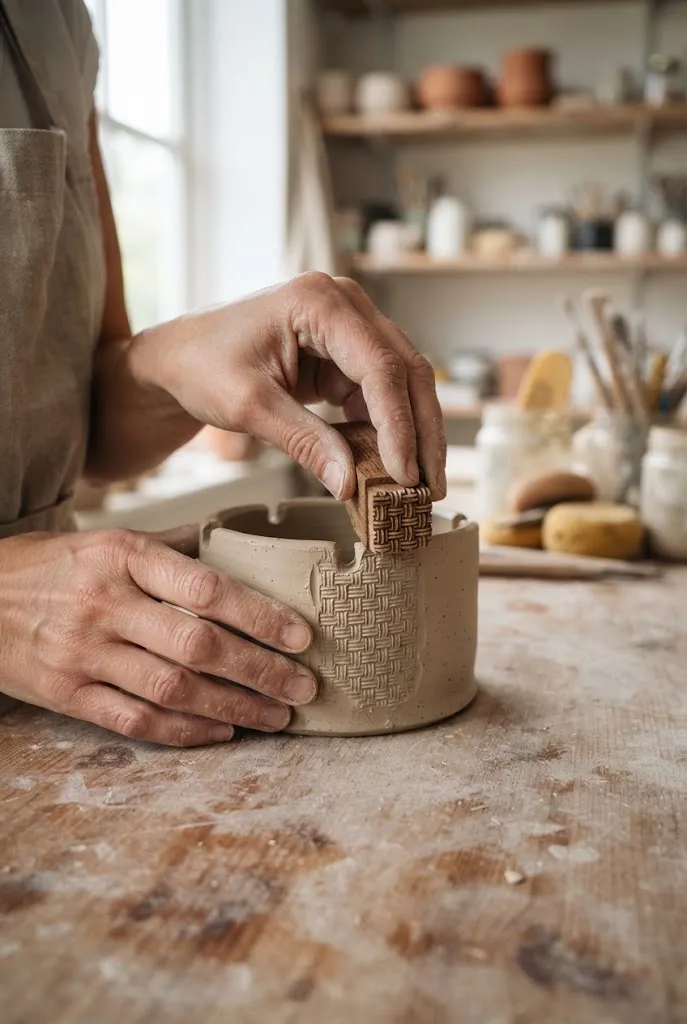
Impressed textures can make a simple tray feel more tactile. A woven pattern creates the appearance of basketry while retaining the sculptural quality of clay.
Press a clean piece of textured material or a suitable texture tool gently against the clay surface.

Test the technique on a scrap first, because some patterns become too deep or distort when the clay is moved. Keep the interior relatively smooth if easy cleaning is important.
17. Abstract Sculptural Clay Ash Tray DIY Ideas
An abstract design is ideal if you prefer artistic accessories over traditional symmetrical shapes. An asymmetrical rim, an offset center, or a gently folded edge gives the tray an expressive silhouette.
Begin with a broad shallow form and alter only one or two parts of the outline. This keeps the result intentional rather than randomly distorted. A single glaze color allows the silhouette to remain the main attraction.
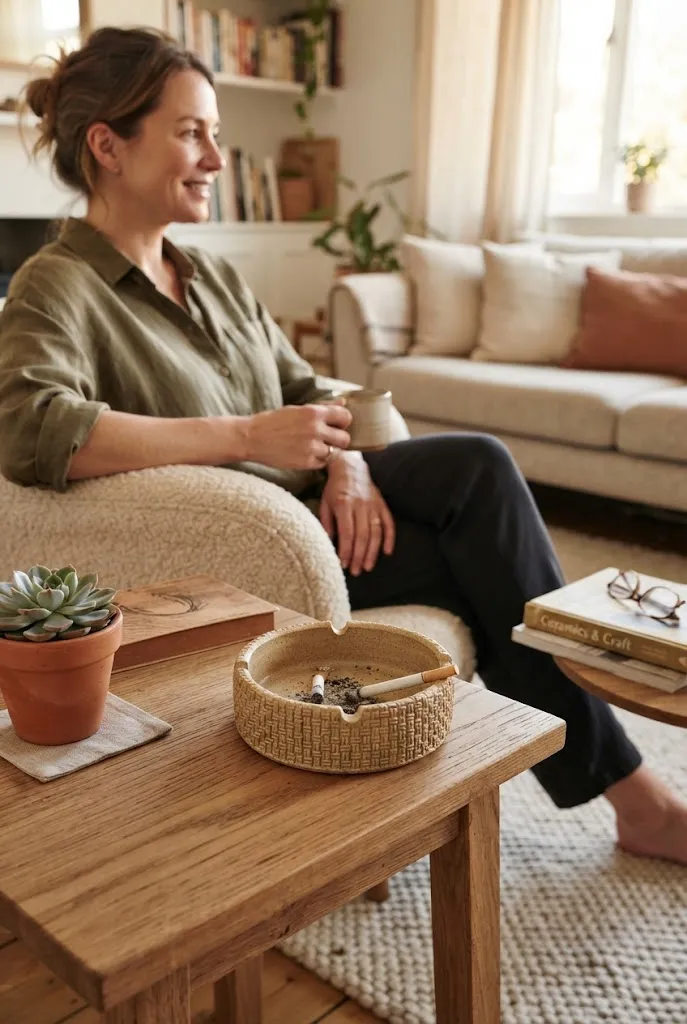
Editor’s Note: For a piece intended to function as an ashtray, decorative projections should not compromise stability or make it difficult to contain ash. Have functional ceramic pieces made and finished with appropriate materials and firing procedures.
18. Color-Blocked Clay Ash Tray
Color blocking uses distinct sections of color rather than a repeating pattern. Think terracotta paired with pale pink, olive green with cream, or cobalt blue against a warm neutral base.

Plan the divisions before applying color. Two or three shades are usually enough to make the geometry clear, and leaving one section neutral can prevent the overall design from feeling crowded.
19. Miniature Fruit-Inspired Clay Ash Tray DIY Ideas

Fruit-inspired designs bring a cheerful pop of color to a craft collection. Lemon yellow, strawberry red, peach, and leafy green details can turn a basic dish into a playful decorative accessory.
Choose one fruit as the main inspiration rather than combining too many motifs. A lemon-inspired tray might use a slightly oval outline, a yellow finish, and a few shallow surface details. Make sure the center remains broad enough to retain the form of a tray.
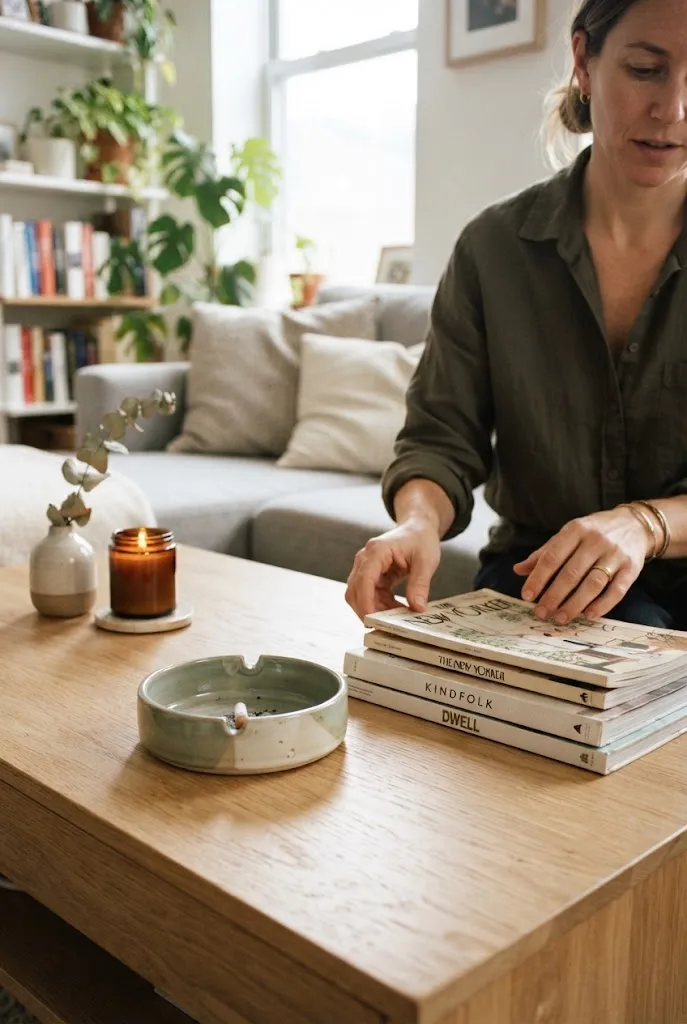
For air-dry clay, use the piece as a decorative catchall unless the materials are specifically suitable for the intended functional use.
20. Daisy-Detail Clay Ash Tray
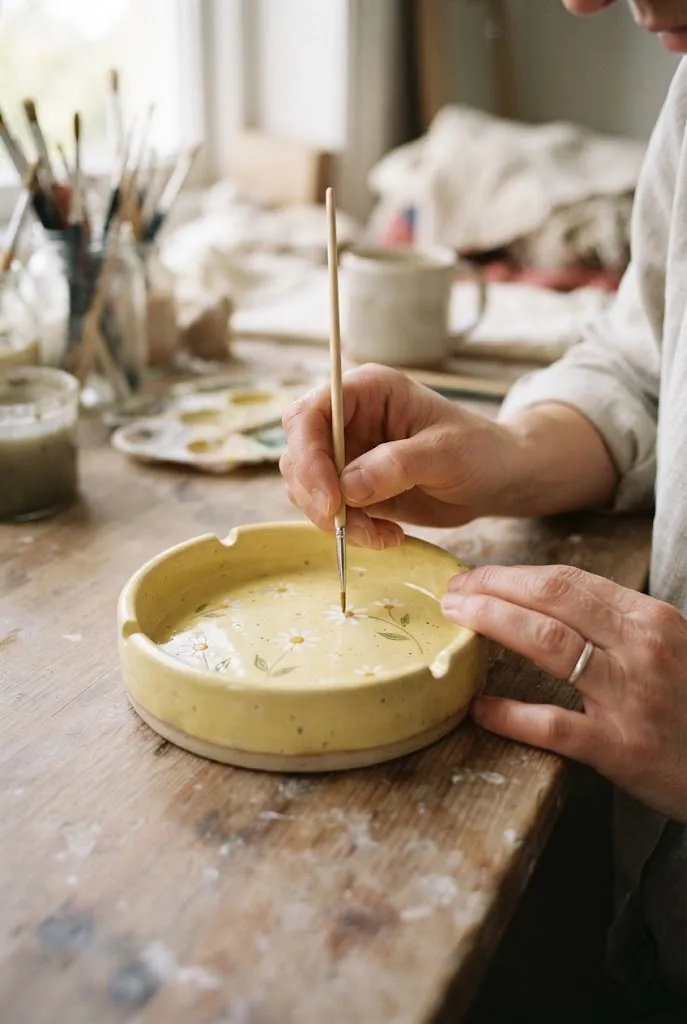
Daisy motifs are an easy way to create a cheerful, garden-inspired design. Small white petals with yellow centers work against a pastel base, while a cream background creates a more subtle handmade look.
Paint the flowers in a few repeated positions or arrange them around the rim. Keep the design balanced by leaving some empty space.
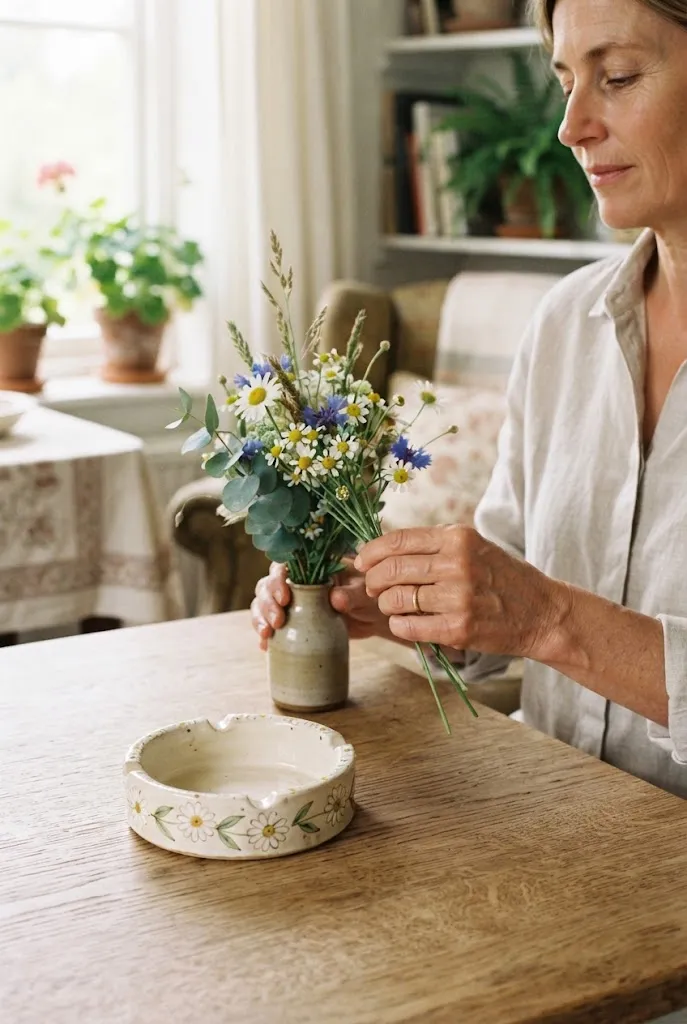
If you add raised petals, make them secure and avoid thin pieces that may break during handling.
21. Matte Black Clay Ash Tray

Matte black creates a strong, understated look that suits contemporary interiors and monochromatic styling. It also emphasizes shape and shadow, making even a simple round or square design feel deliberate.
For ceramic work, choose a suitable clay body or glaze combination that achieves the intended dark finish. For decorative air-dry clay, check that any black paint or sealer is compatible with the material and use the finished piece away from heat.
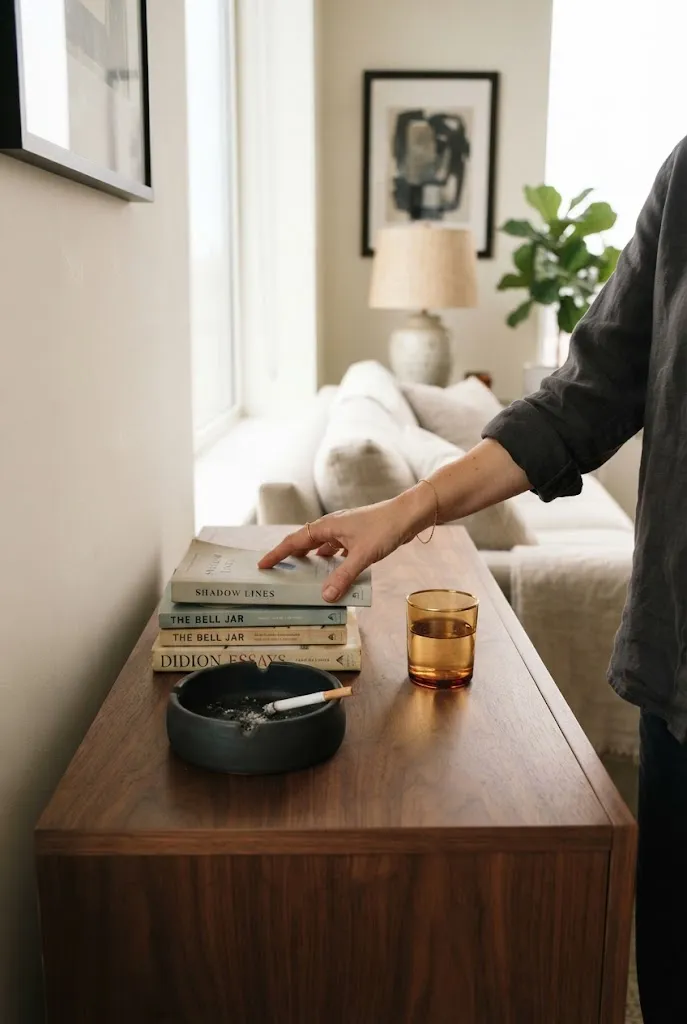
A simple silhouette is usually the strongest choice here. Let the dark surface and clean proportions do the work.
22. Terrazzo-Style Clay Ash Tray DIY Ideas
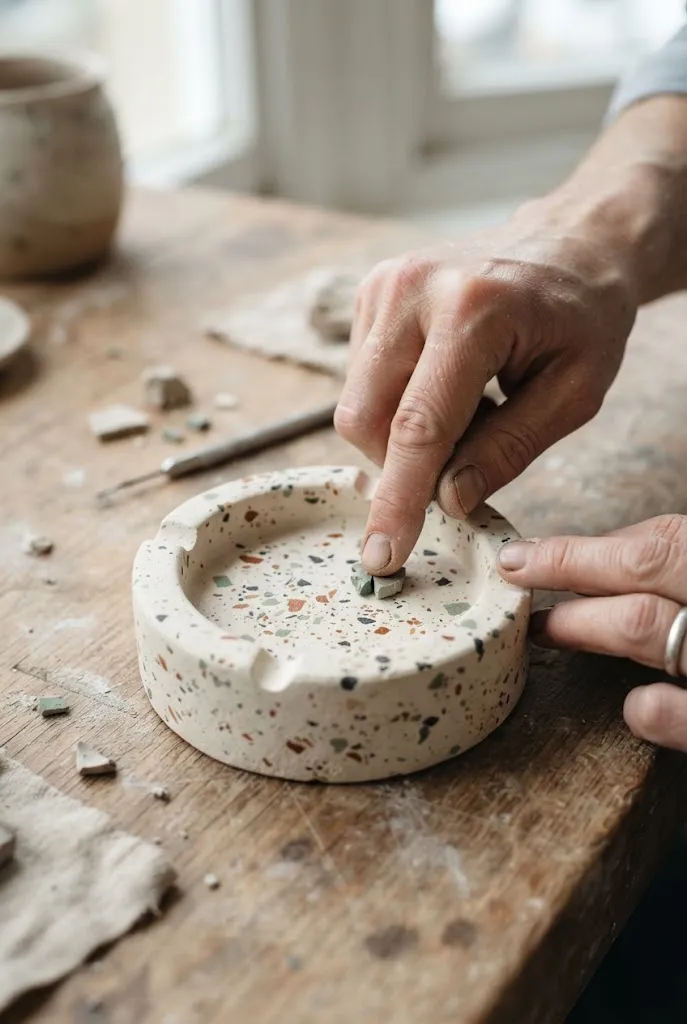
Clay Ash Tray DIY Ideas Terrazzo-style designs feature small colorful flecks scattered across a contrasting base. The pattern can feel modern and playful while remaining easy to coordinate with other accessories.
Use compatible clay fragments embedded into a base clay body or a suitable decorative technique for your chosen material. Distribute the flecks irregularly but evenly, leaving enough background visible so the pattern doesn’t become crowded.
Useful color combinations:
- Ivory with rust, sage, and charcoal flecks.
- Pale pink with burgundy and cream fragments.
- Warm gray with muted blue and terracotta accents.
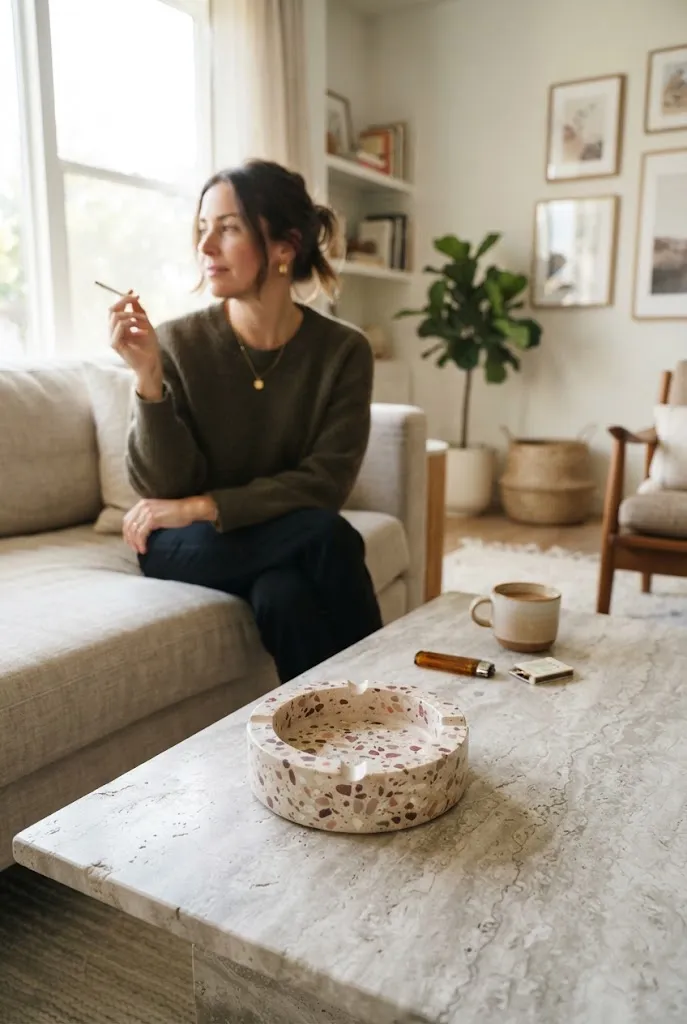
Suggested Alt Text: Ivory terrazzo-style ceramic ashtray with colorful handmade flecks.
23. Personalized Initial Clay Ash Tray

A personalized initial turns a simple clay tray into a thoughtful handmade gift. Creative Clay Ash Tray DIY Ideas One embossed letter, a subtle monogram, or a small decorative symbol gives the design a personal detail without requiring advanced sculpting skills.
Press the letter gently into the clay using a suitable stamp or modeling tool. Test the depth on a scrap first so the impression remains clear without weakening the surface. A plain background and simple rim help the initial stand out.
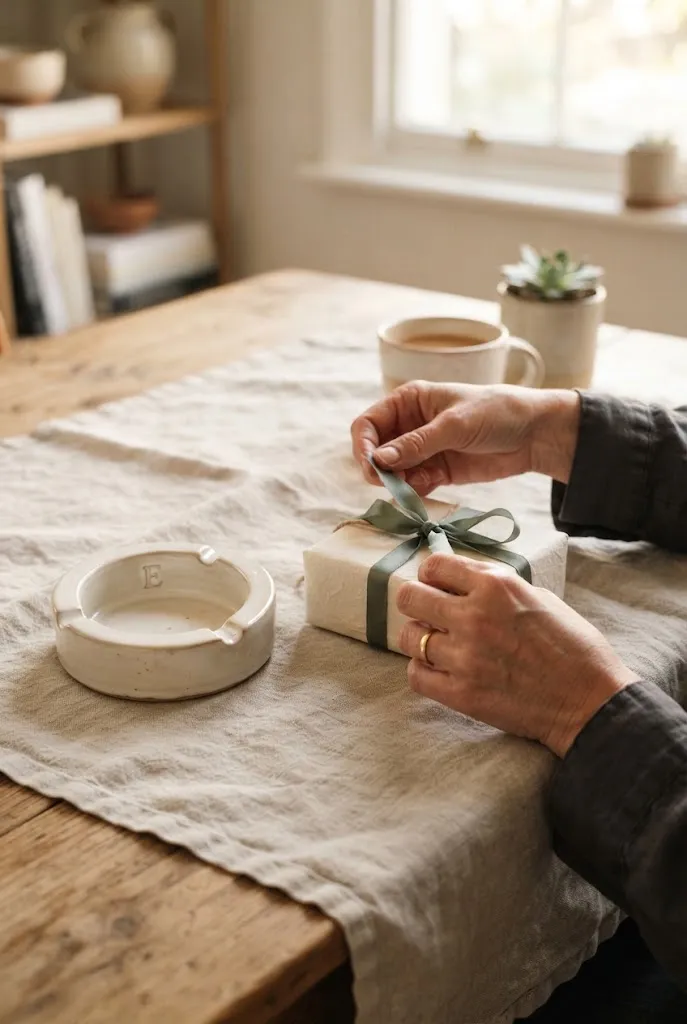
For a gift, coordinate the color with the recipient’s preferred decor style rather than adding too many personal details.
Tips for Making Creative Clay Ash Tray DIY Ideas Successfully
The best design is one that matches your material, skill level, and intended use. Before starting, decide whether you’re making a decorative clay dish or a functional ashtray.
| Material | Best suited for | Important consideration |
|---|---|---|
| Air-dry clay | Decorative trays and catchalls | Not generally suitable for hot ash |
| Polymer clay | Decorative accessories | Follow product-specific temperature and use instructions |
| Pottery clay | Ceramic ashtrays | Requires appropriate kiln firing and a suitable finish |
| Colored or speckled clay | Patterned ceramic designs | Test how the material looks after firing |
A Simple Beginner Workflow
- Choose your design. Sketch the outline and decide on the color palette before shaping.
- Prepare the clay. Follow the manufacturer’s instructions for conditioning, kneading, or preparing your material.
- Shape the tray. Form the base first, then build the rim and any decorative details.
- Refine the surface. Smooth rough edges and check that the base sits evenly.
- Dry, finish, or fire. Follow the specific instructions for your clay, paint, glaze, and any sealer.
- Check its intended use. Don’t assume a decorative finish makes a tray safe for hot ash or burning materials.



One Comment