
23 Painted Pumpkin Ideas to Make Your Fall Decor Stand Out
Painted pumpkins are one of the easiest ways to refresh your fall decor without relying on complicated carving or expensive seasonal accessories. With a little paint, a few simple supplies, and a style that fits your home, ordinary pumpkins can become everything from elegant table accents to colorful porch decorations.
Whether you prefer farmhouse neutrals, modern black-and-white designs, traditional autumn colors, or something playful for Halloween, these painted pumpkin ideas offer plenty of inspiration for creating a display that feels personal and polished.
1. Matte White Pumpkins With Natural Stems

For a simple, sophisticated fall look, paint pumpkins in a soft matte white and leave the stems natural. The contrast between the creamy pumpkin and its original stem gives the arrangement an organic quality while keeping the overall look clean.
Use acrylic or craft paint designed for the pumpkin’s surface, applying two thin coats rather than one heavy coat. Let each layer dry fully before adding another.
Best for: Minimalist, Scandinavian, farmhouse, and neutral decor.
Quick tip: Group pumpkins in different sizes instead of making every pumpkin identical. The variation creates a more natural-looking arrangement.
2. Terracotta Painted Pumpkins for an Earthy Fall Display

Terracotta is a warm alternative to traditional orange and works beautifully with dried grasses, woven baskets, wood accents, and other natural textures.
Choose a muted clay or burnt-orange shade and paint pumpkins in several sizes. For extra dimension, combine completely painted pumpkins with a few that retain some of their original color.
If the paint looks too flat, lightly dry-brush a second earthy shade over the raised sections once the base coat has dried.
3. Black Pumpkins With a Modern Finish
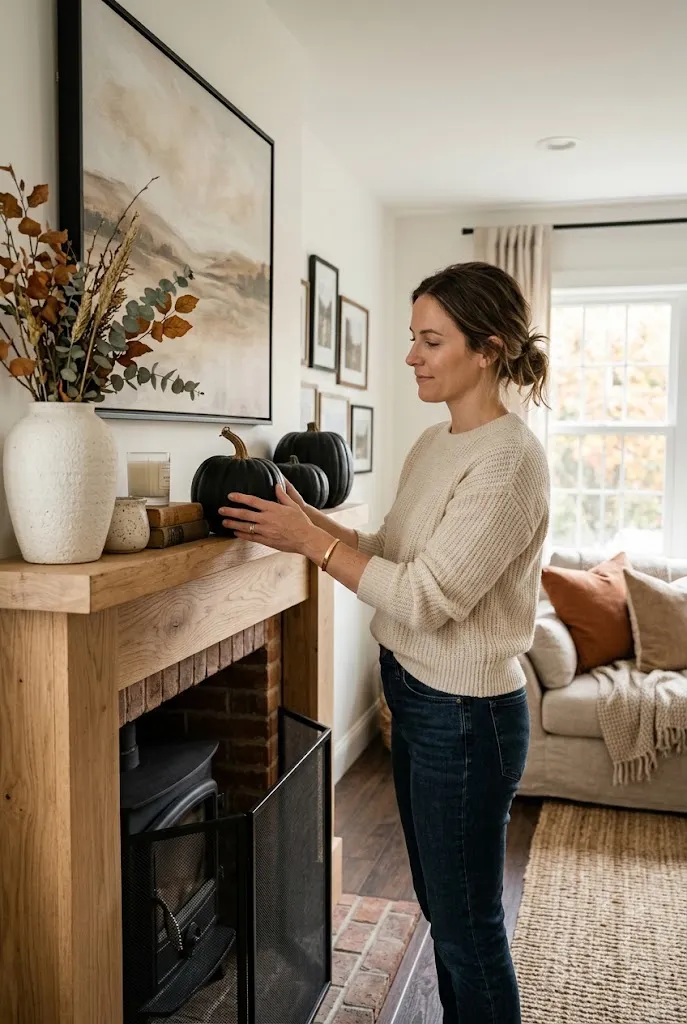
Black pumpkins can instantly give fall decor a dramatic, modern feel. They work especially well against white walls, light wood, stone surfaces, and metallic accents.
A true matte black creates a sophisticated appearance, while satin or slightly glossy paint makes the pumpkins feel more contemporary.
For a cohesive display, use black pumpkins alongside cream-colored pumpkins rather than creating an entirely dark arrangement.
Common mistake: Applying one extremely thick coat of paint. Multiple thin coats usually produce a smoother finish and reduce visible brush marks.
4. Gold-Accent Pumpkins

You do not need to cover an entire pumpkin in metallic paint to make it stand out. Gold accents can be used on stems, ribs, edges, or small decorative patterns.
Start with a neutral base such as white, cream, beige, or soft gray. Once dry, use a small brush to add gold details.
For a subtle result, keep the metallic paint concentrated on just one area. For a more glamorous display, repeat the same gold accent across several pumpkins.
5. Pumpkin Faces With Simple Painted Features

Painted pumpkin faces are a fun alternative to traditional carving, especially if you want Halloween decor without dealing with sharp tools, pumpkin guts, or a short display life.
Keep the faces simple with painted eyes, eyebrows, smiles, eyelashes, or tiny cheek details. Black and white paint creates a classic look, while adding blush, pastel colors, or metallic details can make the pumpkins feel more playful.
Use a pencil to lightly sketch the facial features before painting them.
Best for: Families, Halloween parties, entryways, and kids’ craft projects.
6. Soft Sage Green Pumpkins

Sage green brings a calm, muted color into fall decorating while still feeling seasonal. It pairs especially well with cream, tan, brown, brass, and natural wood.
Paint pumpkins in one consistent sage shade, or use slightly different tones to create a layered display.
For an elevated look, choose a matte finish and keep the stems natural. A few dried leaves or eucalyptus-style foliage can complete the arrangement.
7. White Pumpkins With Black Polka Dots

Polka dots are an easy pattern for beginners because they do not require precise artistic skills.
Paint the pumpkin white and allow it to dry completely. Then add black dots using a small round brush, the end of a paintbrush, or another tool that creates a consistent circular shape.
Varying the dot sizes can make the design more organic. For a more graphic appearance, keep the dots similar in size and space them evenly.
8. Ombre Painted Pumpkins
An ombre pumpkin gradually transitions from one shade into another, creating a soft painted effect.
Choose two or three colors that blend naturally, such as cream to beige, peach to coral, or pale blue to deep blue.
Paint the lightest shade first. While the paint is still workable, gently blend the next shade into it. Work in small sections rather than trying to blend the entire pumpkin at once.
Finish option: A matte protective topcoat can help preserve the look once the paint has fully cured.
9. Floral Painted Pumpkins

Floral pumpkins can bring a garden-inspired feel to fall decorating. You can paint simple flowers, vines, leaves, or more detailed botanical designs depending on your comfort level.
A cream or white pumpkin makes a versatile canvas, while dark green, burgundy, dusty pink, mustard, or rust create a richer autumn palette.
For beginners, start with simple leaf shapes and small flowers instead of attempting a highly detailed botanical illustration.
Do: Let each major color dry before layering another.
Don’t: Overload the pumpkin with too many competing colors.
10. Metallic Silver Pumpkins
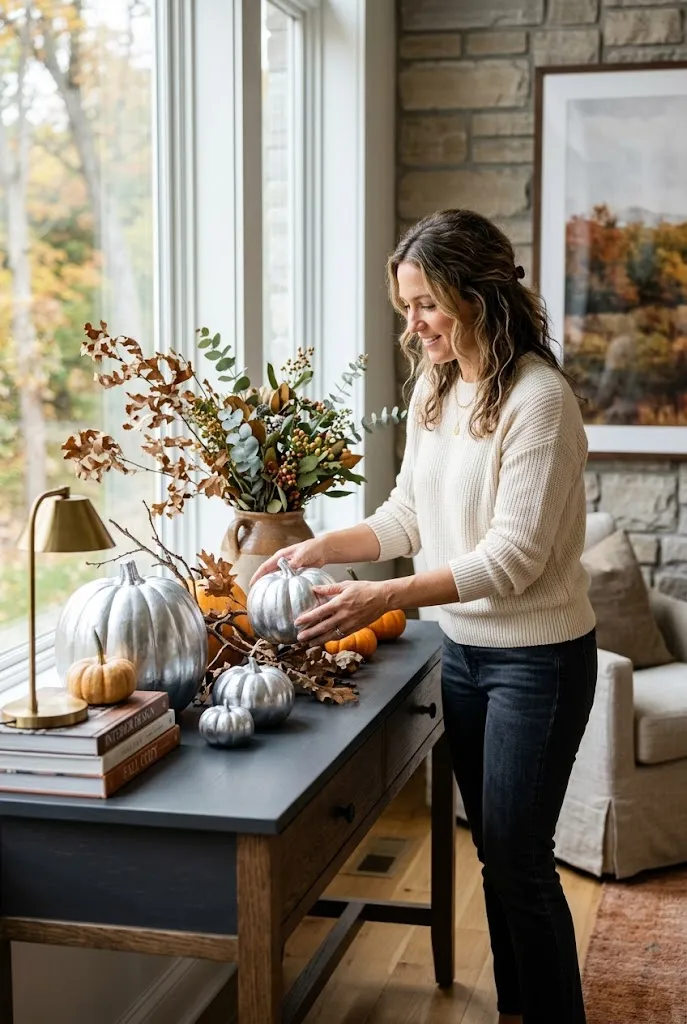
Silver-painted pumpkins offer a cooler alternative to traditional autumn colors and can work particularly well with modern or winter-transition decor.
Use silver paint over white, gray, or black pumpkins for different levels of contrast. A lightly textured silver finish can look especially interesting because it emphasizes the pumpkin’s natural ridges.
Place silver pumpkins with glass, candles, white ceramics, or dark wood for a sophisticated seasonal centerpiece.
11. Checkerboard Painted Pumpkins
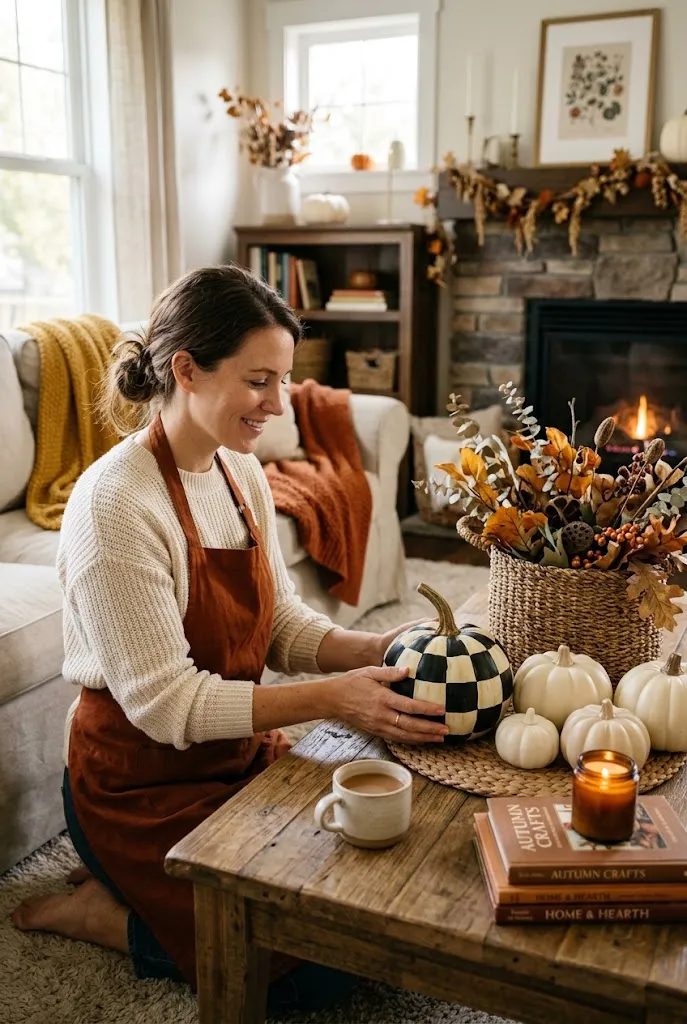
Checkerboard patterns have a strong graphic quality and can make even a small pumpkin feel like a statement piece.
Black and cream are classic choices, but you can adapt the pattern to your decor using combinations such as sage and ivory, terracotta and cream, or burgundy and blush.
Because pumpkin surfaces are curved, avoid trying to make every square perfectly identical. Lightly sketching the pattern first can help keep the overall design balanced.
Best for: Modern, eclectic, maximalist, and Halloween-inspired interiors.
12. Neutral Pumpkins With Speckled Texture
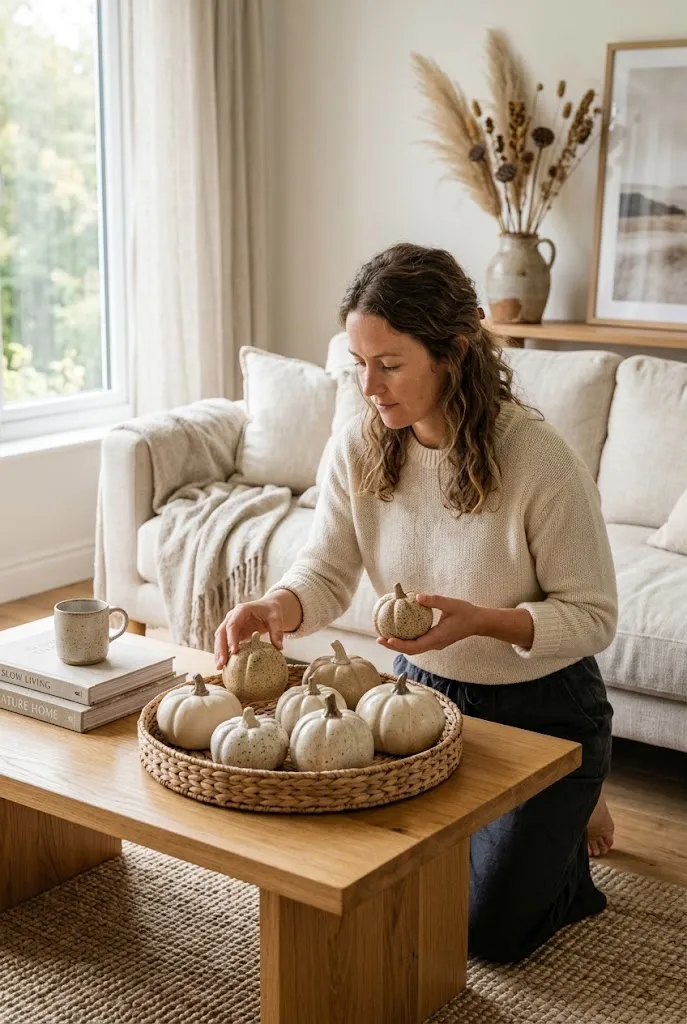
For a softer handmade look, create neutral pumpkins with tiny painted speckles.
Start with a cream, beige, or warm white base. Once dry, use a small brush to flick or dab a darker neutral paint across the surface.
Keep the speckles concentrated rather than perfectly distributed. Natural variation makes the pumpkins look more artisanal.
This technique works especially well when several pumpkins are grouped together with linen, woven baskets, wood, and dried flowers.
13. Candy-Colored Pumpkins
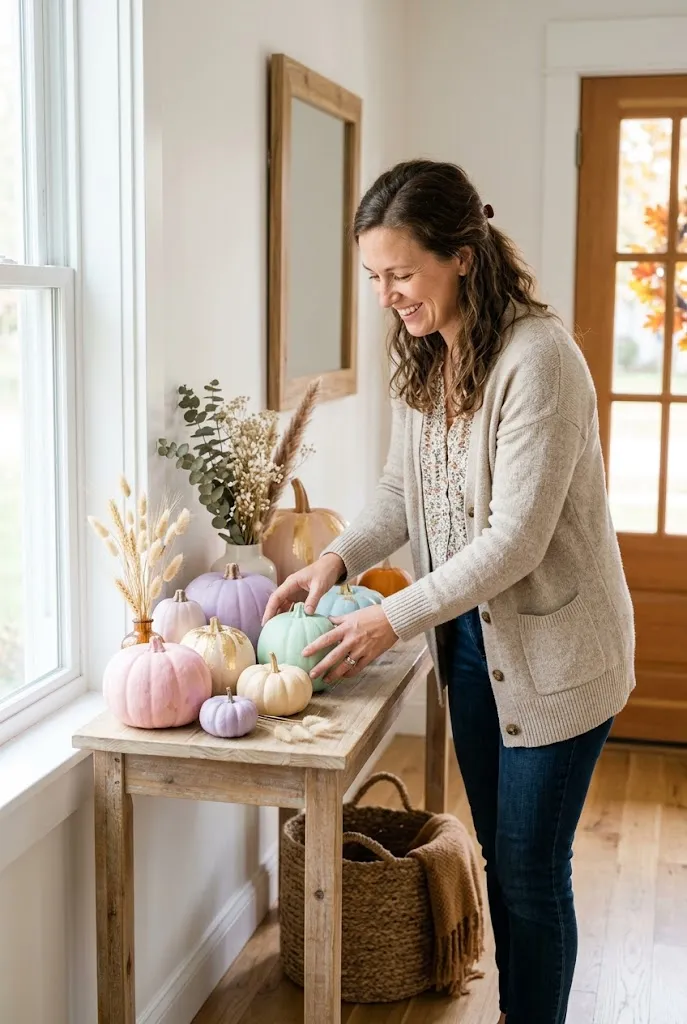
Fall decor does not have to stay within traditional orange, brown, and burgundy palettes. Candy-colored pumpkins can bring a cheerful, unexpected look to seasonal decorating.
Try shades such as lavender, pale pink, mint, butter yellow, baby blue, or coral.
To keep the display from looking too chaotic, choose a small palette of two to four coordinating colors and repeat them across pumpkins of different sizes.
These are particularly fun for playful entryway displays, children’s spaces, or colorful party decor.
14. Striped Pumpkins in Warm Fall Colors

Stripes are another beginner-friendly technique that can completely change the appearance of a pumpkin.
Use painter’s tape to create clean vertical, horizontal, or diagonal stripes. Popular combinations include cream and rust, mustard and white, burgundy and beige, or brown and tan.
Press the tape firmly against the surface before painting to reduce bleeding. Remove it carefully while the final coat is still slightly workable, if the paint instructions allow.
15. Black-and-White Halloween Pumpkins

For Halloween decor that feels stylish rather than overly themed, combine black and white pumpkins with simple graphic patterns.
Try bats, stars, stripes, tiny dots, spiderweb-inspired lines, or minimalist faces. You can also use one black pumpkin, one white pumpkin, and one patterned pumpkin to create a balanced trio.
This approach makes Halloween decorating easier to coordinate with an existing neutral interior.
Editor’s note: Simple patterns often look more polished than trying to combine several elaborate motifs on a single pumpkin.
16. Painted Pumpkin Stacks

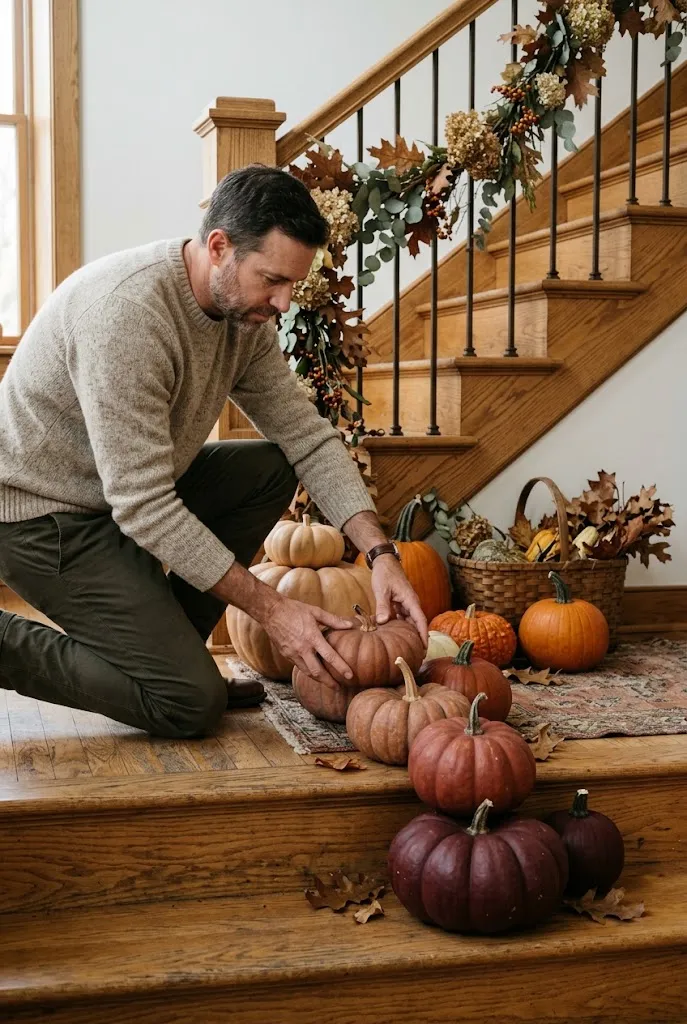
Instead of displaying pumpkins individually, stack several painted pumpkins vertically to create a taller focal point.
Choose colors that work together and make the largest pumpkin the base. Smaller pumpkins can gradually become lighter, darker, or more decorative toward the top.
Use the arrangement on a covered porch, near an entryway, or beside a fireplace where vertical decor can fill an otherwise empty area.
Make sure the stack is stable before placing it where people walk by frequently.
17. Farmhouse White and Brown Pumpkins

White and brown create a warm combination that fits naturally into farmhouse-style fall decorating.
Paint some pumpkins creamy white and others in muted brown or taupe. Keep the stems natural where possible and pair the collection with wood trays, galvanized containers, woven baskets, or dried grasses.
For an aged appearance, lightly distress selected areas after the paint has dried, but avoid overworking the surface.
18. Painted Pumpkins With Leaf Motifs

Leaf designs are a natural choice for fall and can be as simple or detailed as you like.
Paint a few individual leaves along the pumpkin’s ridges, create a wreath-like pattern around the center, or cover the surface with overlapping foliage.
Traditional autumn shades such as olive, rust, mustard, and burgundy work well, but muted blue-green or cream can create a more contemporary result.
If you’re new to painting, use real leaves as visual references while sketching the basic shapes.
19. Color-Blocked Pumpkins
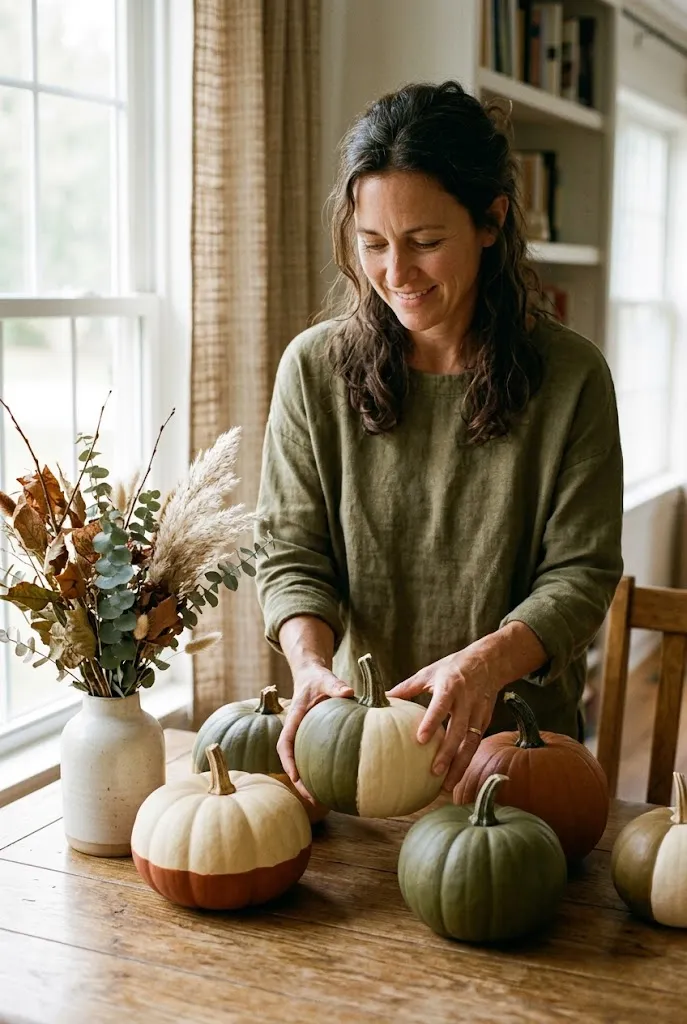
Color blocking uses separate sections of contrasting colors to create a clean, modern appearance.
Divide the pumpkin into two or three areas and paint each section a different shade. Tape can help produce sharper boundaries, especially on larger pumpkins.
Try combinations such as black and cream, terracotta and blush, sage and beige, or navy and white.
The technique is particularly effective when you repeat the same color combination across pumpkins of different shapes.
20. Jewel-Tone Pumpkins

Rich jewel tones can give fall decorating a luxurious appearance. Think emerald green, deep teal, sapphire blue, plum, wine, or deep berry.
These colors work especially well with brass, gold, velvet, dark wood, and warm lighting.
Because jewel tones are visually strong, you do not need many pumpkins to make an impact. A small group of three or five can be enough for a tabletop or shelf.
Finish option: Satin paint provides a little more visual depth than completely matte paint without becoming highly reflective.
21. Porch Pumpkins With a Simple Monogram
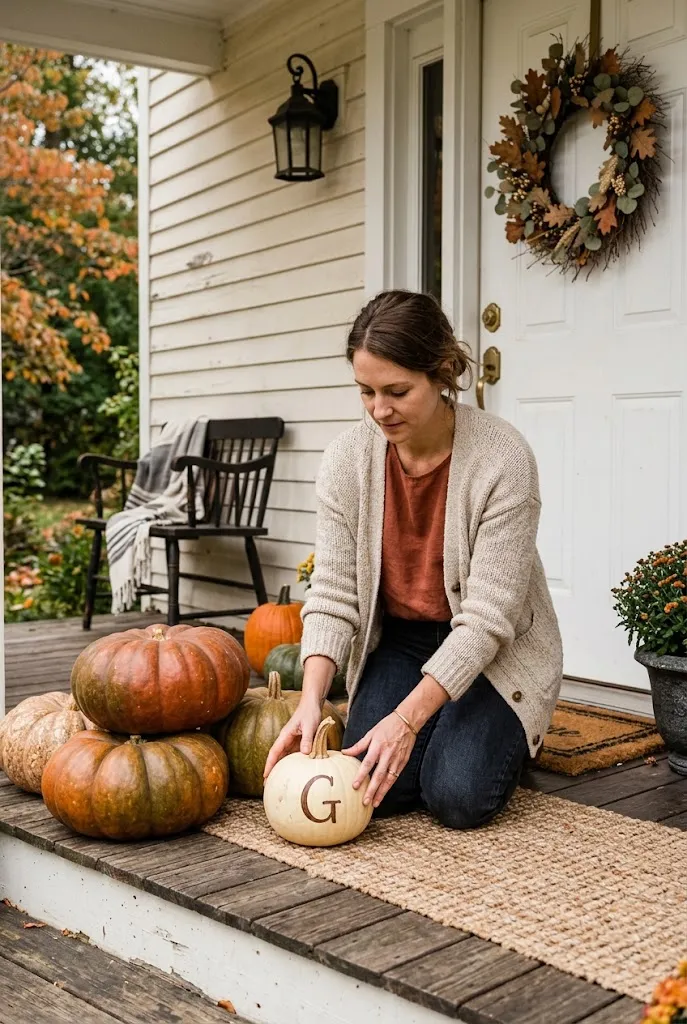
Personalize a pumpkin with a painted initial for an entryway or porch display.
Start with a solid-color pumpkin and sketch the letter lightly in pencil. Use a small detail brush to fill it in with contrasting paint.
Keep the typography simple and large enough to remain readable from a short distance. A single initial can look more sophisticated than trying to fit an entire name onto a small pumpkin.
For outdoor displays, choose paint and protective finishes appropriate for the pumpkin material and weather exposure.
22. Mini Painted Pumpkins for a Table Setting
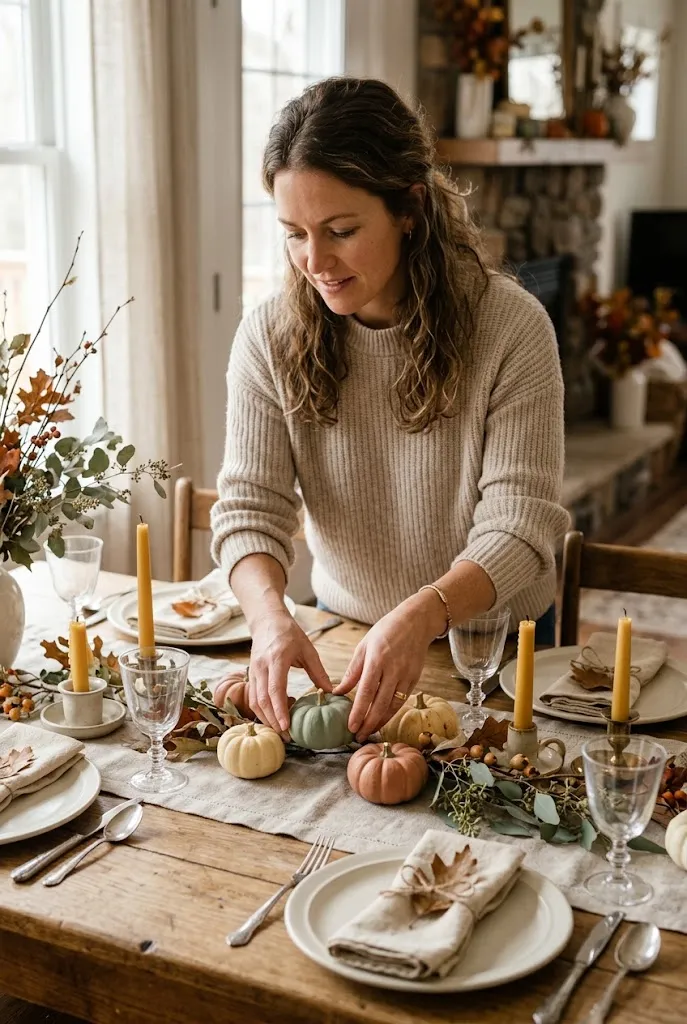
Small pumpkins are ideal for table decor because they can add seasonal color without taking up much space.
Paint mini pumpkins in coordinating colors and place one at each setting, arrange several along the center of a table, or use them in a small bowl.
Try keeping the design simple because tiny pumpkins have limited surface area. Dots, stripes, metallic stems, initials, and single-color finishes are usually easier to execute neatly.
If the pumpkins will be handled frequently, allow the paint to dry and cure according to the product instructions before placing them on the table.
23. A Mixed Painted Pumpkin Collection

If you cannot choose just one style, create a coordinated collection using several techniques.
For example, combine matte white pumpkins, a terracotta pumpkin, a black-and-white patterned pumpkin, a gold-accent pumpkin, and a sage green pumpkin.
The key is to connect the designs through a shared color palette. The pumpkins do not need to match exactly; they simply need to look intentional together.
Arrange the largest pieces toward the back and smaller pumpkins toward the front. Add natural elements such as dried leaves, branches, woven materials, or wood to tie the collection together.
How to Make Painted Pumpkins Look More Polished
A few preparation steps can make a noticeable difference in the final result.
Clean the Surface First
Wipe pumpkins clean before painting. Dust, dirt, or residue can interfere with paint adhesion and create an uneven finish.
Use Thin Coats
Several thin coats generally produce a smoother result than one thick layer. Allow each coat to dry before adding the next.
Sketch Detailed Designs
For faces, florals, letters, and geometric patterns, use a light pencil sketch as a guide. This makes it easier to correct the layout before committing to paint.
Protect the Finished Surface
If your pumpkins will be handled often or placed somewhere exposed to moisture, consider an appropriate clear protective finish after the paint has completely dried and cured.
Always follow the instructions for the specific paint or sealer you’re using.
Painted Pumpkin Ideas at a Glance
| Style | Best Color Palette | Skill Level | Best Location |
|---|---|---|---|
| Matte White | Cream, ivory, white | Easy | Mantel, shelf, table |
| Terracotta | Rust, clay, brown | Easy | Porch, entryway |
| Black | Black, charcoal, cream | Easy | Halloween, mantel |
| Gold Accent | White, beige, gold | Easy | Table, shelf |
| Floral | Rust, green, burgundy | Intermediate | Table, entryway |
| Ombre | Two or three related shades | Intermediate | Mantel, centerpiece |
| Checkerboard | Black, cream, sage | Intermediate | Shelf, porch |
| Jewel Tone | Emerald, plum, teal | Easy | Dining room, living room |
| Color Blocked | Two or three contrasting colors | Easy | Modern interiors |
| Mixed Collection | Coordinating seasonal colors | Easy–Intermediate | Porch, mantel |
Practical Tips for Painting Pumpkins
- Choose pumpkins with relatively smooth surfaces for detailed designs.
- Clean and dry the surface before painting.
- Use synthetic brushes for most acrylic-paint projects.
- Apply multiple thin coats when better coverage is needed.
- Let each layer dry before adding patterns or details.
- Test your paint color on a small hidden area first.
- Use painter’s tape for stripes and geometric designs.
- Sketch letters and faces lightly before painting.
- Keep highly detailed designs for larger pumpkins.
- Allow finished pumpkins to dry and cure according to the paint manufacturer’s instructions.
- For real pumpkins, avoid sealing them while they are damp or damaged.
- For faux pumpkins, check whether the material requires a primer before painting.
Common Painted Pumpkin Mistakes to Avoid
The most common mistake is rushing the drying process. Painting another color too soon can cause smearing, bleeding, or accidental texture.
Another issue is using too much paint at once. Thick layers can take longer to dry and may hide the pumpkin’s natural contours.
Finally, avoid choosing a design simply because it looks impressive in a photo. A pattern that requires extremely precise lines may not be practical on a curved pumpkin. Choose a technique that matches your available time and skill level.
Internal Linking Opportunities
You can naturally connect this article to related content on your site, such as:
- DIY fall decor ideas
- Easy fall crafts for beginners
- DIY Halloween decorations
- Front porch fall decorating ideas
- Thanksgiving table centerpiece ideas
Final Thoughts
Painted pumpkins make it easy to personalize fall decorating without committing to complicated carving or expensive seasonal pieces. From simple matte finishes and earthy colors to detailed florals, graphic patterns, and jewel tones, there is a style for almost every home.
The best results usually come from choosing a limited color palette, preparing the surface properly, and giving each coat enough time to dry. Start with one simple design, then build a collection around the colors and finishes you love.